Frequently Asked Questions
I’d like to edit my image but I don’t have photo editing software, such as Adobe Photoshop. Where can I get it?
Can I download Adobe Creative Cloud suite to my laptop?
YES. To access the software from your personal computer, go to https://about.illinoisstate.edu/adobe/ and submit a request to get your ISU account licensed for it (This may take 24-48 hours for response.)
Once you’ve received your permission. You will be able to log into Adobe and download the Creative Cloud software. Read more about Creative Cloud.
What size image is required?
High resolution images are required. A high resolution image is one that has least 300 ppi (pixels per inch)--- or 300 dpi (dots per inch), which for our purposes are the same thin- when one side of the printed image measures at least 10 inches, preferably larger.
How do I know if my image is of good enough quality?
When you look at your image size under file information, you will likely see the dimensions listed as “horizontal by vertical” that is, for example, “546 x 340”, “435 x 280” or “1000 x 1000” (for a square picture). For this competition, you need a file size of at least 3000 on one of the dimensions.
How do I check the image quality?
On a Windows PC, using the Photo app:
- Step 1. Open the original image, it should be fully downloaded to your device.
- Step 2. At the top right of the menu bar, click the three dots.
- Step 3. Select ‘File info’
- Step 4. Under dimensions, this will provide the size. If either value is equal to or greater than 3000, your image is good to go!
On a Mac, using the Photos app:
- Step 1. Open original image.
- Step 2. Click on tools at the top in menu bar.
- Step 3. Click ‘Show Inspector’
- The ‘General Information’ box will display the Image size and DPI. *anything less than 300 dpi must be resized.
What if my image is too small and does not meet the minimum requirement?
First, make sure you are working with the original file. Generally, photos taken with a smart phone are plenty good enough. If you upload them to social media, the media platform may reduce the file size (and therefore quality). To avoid this problem, go back to your original photo rather than downloading if from your social media account.
(For help finding an original photo taken with a smart phone, see “Where will I find my original photos?” below)
Once you have the original file, check the size following the steps above.
If your image is set to less that 300 dpi, you need to reset it to 300. To do so you need to use a photo editing software, like Adobe Photoshop. See “How do I resize my image?” See below.
Where will I find my original photo?
If you used an iPhone:
You should be able to find your original photo in the Photos application on your phone.
If you back up to iCloud,
- Start by going to iCloud.com/#photos. Once you are there:
- Step 1. Click on the photo to go into selection, it will be highlights
- Step 2. To Select, click on the photo and it will highlight the image
- Step 3. In the top Right corner of iCloud page, you can click on the the download button:

- Step 4. The image will be downloaded to your device.
If you use an Android phone or backup to Google Photos:
- Step 1. Go to: photos.google.com and sign in to locate your image.
- Step 2. Select your image to download.
- Step 3. Click on the 3 dots (⋮) icon. It's placed in the top-right corner of the page.
*If the image is already on your device, this option won't appear. This means that the image is already downloaded and you should be able to search for it on your device. - Step 4. Click on the Download from the options and save it to your computer. Done!
How do I resize my image?
- Step 1. Open Adobe Photoshop
- Step 2. Open original image in Adobe.
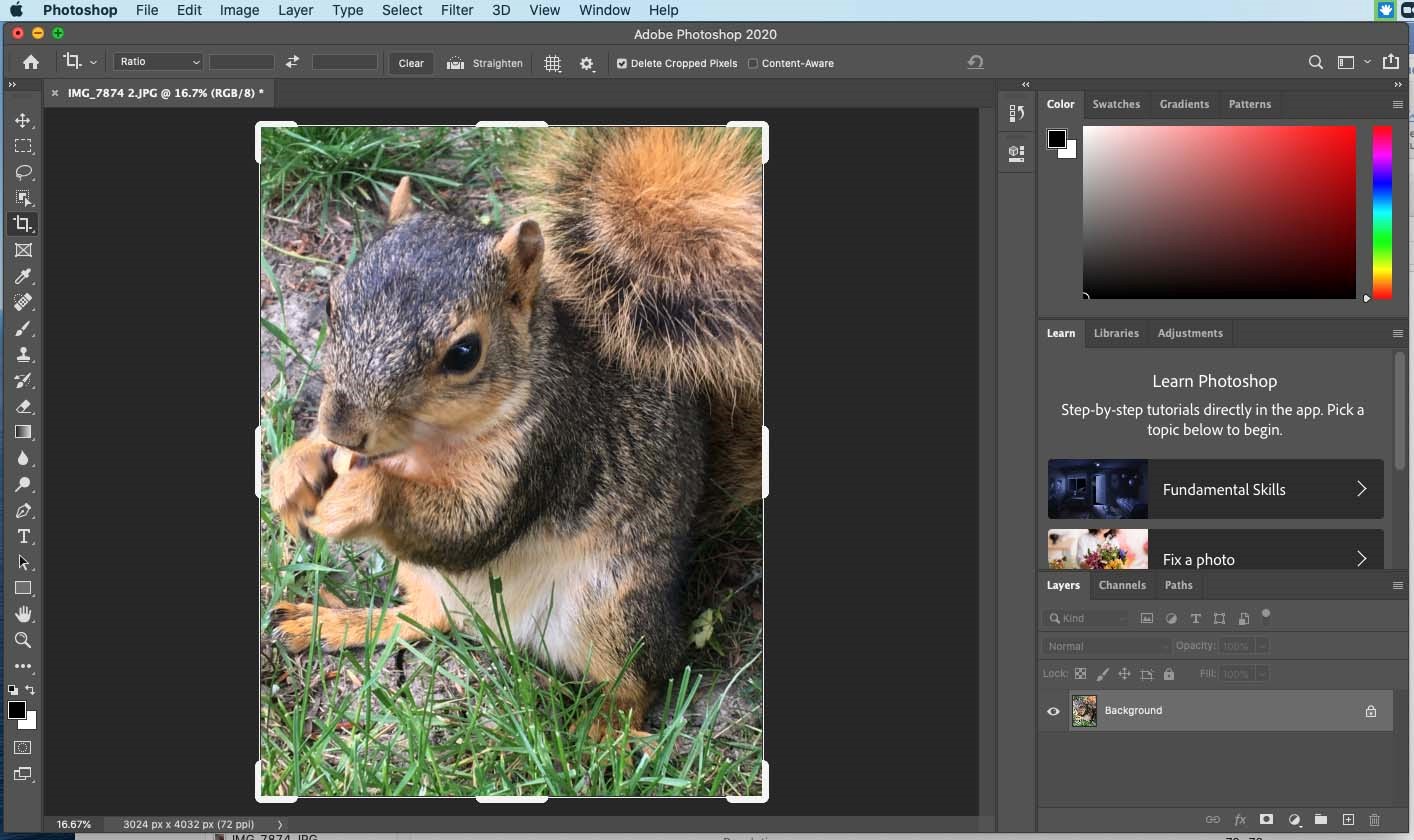
- Step 3. Click the Image tab. Click image size. Then change the resolution to 300 pixels/inch (see photos of a photo originally set to 72 ppi below):
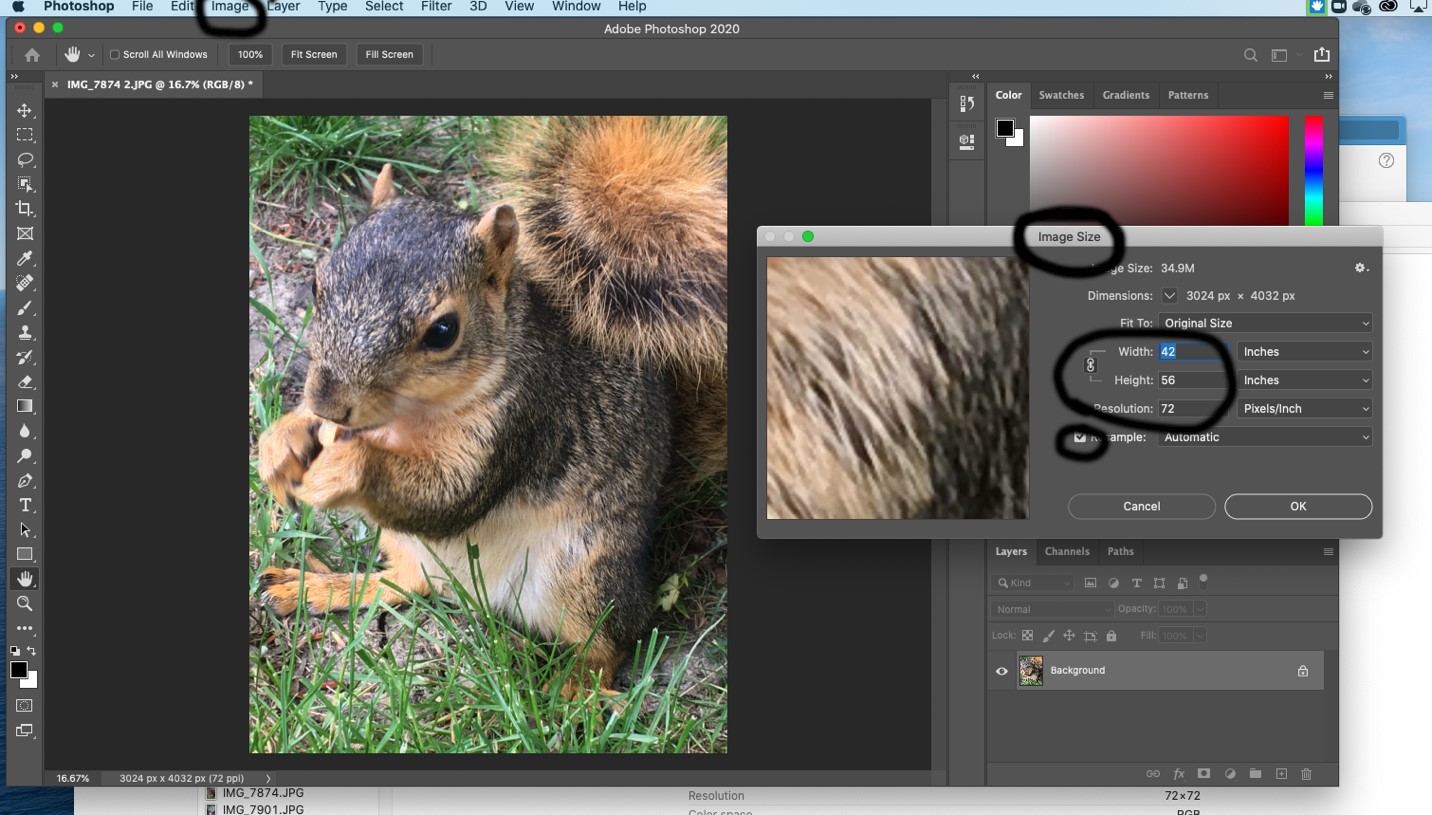
For most circumstances, deselect ‘Resample’ and then change the resolution to 300 Pixels/Inch.
Then check the height or width of the image and make sure that it is at least 10 inches. If needed, set the smallest side to 10 inches. If the image is not blurry or pixelated, you may save the image and you are finished!

- Step 4. If, on the other hand, changing the PPI to 300 has shrunk your image below 10 inches on one side, you may need to resample the image. Select ‘Resample’, change the longest side to 10 inches, and choose a method for resampling in the dropdown box.
Start out with the ‘Nearest Neighbor’ method and see how it looks. If that looks bad, try the ‘Bicubic Smoother’ or ‘Bicubic Sharper’ method.
Note: Resampling the image changes the amount of data in the image and gets a little complicated, because it’s actually adding or deleting data from the image. This can sometimes lead to some wacky-looking stuff.
If you are trying to make the image considerably larger than the original, this process can get a little weird, and it’s best (if you can) to go back to the source photo and see if there’s any way to get it in a larger file size from the get-go.